Set up Exchange-based email accounts
Set up Exchange-based email accounts
Set up your email account using the Outlook for iOS app available from the Apple Store or the built-in iOS mail app.
 Use Outlook for iOS
NOTE Outlook for iOS requires iOS 8.0 or higher. App availability varies by country so find out what's available in your country. If the app is incompatible with your device, try adding your mail account using the built-in mail app that comes with your device.
-
Download the Outlook for iOS app from the Apple Store if you haven't installed it yet.
If you already have it installed, open it, then tap Settings > Add Account.
-
Tap Exchange if you're using an Exchange-based mail account.

-
Type your full email address, for example tony@contoso.com, type your password, and then tap Sign in. Outlook for iOS begins syncing.
TIP If you get a time-out message, your password or other information might be incorrect. Retype the information, and then try again.
-
Tap one of the icons to view your calendar, files, or contacts in the app.

-
To learn more about using Outlook for iOS, tap Settings > Help. Or, see Frequently asked questions about Outlook for iOS and Android
Add another account
-
You can have more than one email account in Outlook for iOS. Select the type of account you want to add and follow those steps.
Delete an account
-
Tap Settings.
-
Tap the account you want to delete.
-
Select Remove Account, and then select From Device or From Device & Remote Data.
 Use the built-in iOS mail app
-
Tap Settings > Mail, Contacts, Calendars >Accounts > Add account > Email.
-
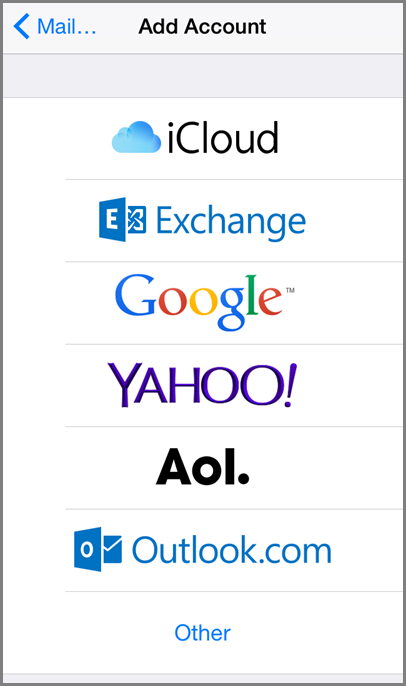
In the Add Account page, tap Exchange.

-
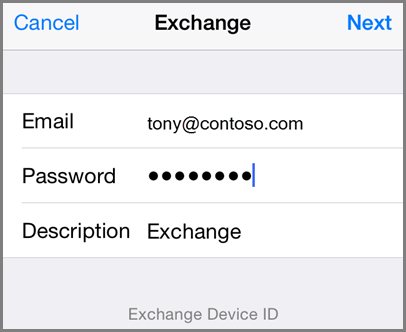
Enter your full email address, for example tony@contoso.com, and your password, and then tap Next.

-
By default, Mail, Contacts, and Calendar information are synchronized. Tap Save.
-
If you're prompted to create a passcode, tap Continue and type a numeric passcode. If you're prompted and don't set up a passcode, you can't view this account on your device. You can also set up a passcode later in your settings.
Not working? Make sure you entered your email and password correctly and try again. You can also try setting the account up manually following the steps in the section Set up IMAP or POP email accounts, but selecting this method will only add your email, not your calendar or contacts.
Related Articles
How do I set up email on iPhone, iPad, or iPod Touch?
How do I set up email on iPhone, iPad, or iPod Touch? Select the type of email account you want to set up on your iPad, iPhone, or iPod Touch to access your email, calendar, contacts, and tasks: Set up Outlook.com, Gmail, Yahoo! Mail, or iCloud ...Set up IMAP or POP email accounts
Set up IMAP or POP email accounts Set up your email account using the Outlook for iOS app available from the Apple Store or the built-in iOS mail app. Use Outlook for iOS If you're setting up an IMAP account you can use Outlook for iOS. If you want ...Set up work or school email accounts that use Office 365
Set up work or school email accounts that use Office 365 Set up your email account using the Outlook for iOS app available from the Apple Store or the built-in iOS mail app. Use Outlook for iOS NOTE Outlook for iOS requires iOS 8.0 or higher. App ...Setting up an Exchange email account on your BlackBerry Z10
Setting up an Exchange email account on your BlackBerry Z10 To set up an exchange email account, follow the steps below: From the Home screen - drag down from the top and select Settings Select Accounts. To create an additional account select Add ...How do I set up email forwarding?
How do I set up email forwarding? Use Forwarding settings in Outlook Web App to automatically forward all email sent to your Office 365 or other Exchange-based account to another account. Click here for details.